August 24, 2025

A garden filled with healthy vegetables, fragrant herbs, and colorful flowers often starts with tiny seeds. The cultivation of plants from seeds is a process that involves time and knowledge, and it is also a skill that demands patience. Whether for a small home garden or large-scale farming, understanding seed propagation helps produce healthier crops, increase yields, and reduce costs.
Seed propagation is the foundation of gardening and agriculture. According to the Food and Agriculture Organization (FAO), nearly 80% of global food production relies on seeds. Learning proper seed propagation techniques can significantly improve plant growth, helping both beginners and experienced growers achieve a successful and productive garden.
Growcycle is a leading horticultural and agricultural marketplace that offers a comprehensive range of products to support seed propagation. Their selection includes seed starting supplies and kits, cloning machines, rooting hormones, and lighting solutions for healthy seed growth.
Seed propagation is the process of growing plants from seeds. It is the most common method of plant reproduction and is widely used in gardening, farming, and forestry. Unlike other propagation methods, such as cuttings or grafting, which involve cloning a plant from an existing one, seed propagation allows plants to grow naturally from their genetic material.
Each seed contains an embryo with stored nutrients, which, under the right conditions, develops into a new plant. Seed propagation offers several advantages:
Seed propagation is ideal for plants that produce viable seeds, such as vegetables, fruits, flowers, and trees. It is particularly beneficial when growing large quantities of plants, improving crop genetics, or preserving plant species. Gardeners and farmers often choose seed propagation for seasonal crops like tomatoes, peppers, and herbs, while forestry projects use seeds for tree reforestation.
Seed preparation can be started indoors or outdoors, depending on climate and plant type. Indoor setups allow control over temperature, light, and moisture, making them ideal for starting seeds early in the season.
Outdoor propagation benefits from natural sunlight but may be affected by temperature fluctuations. Using greenhouses, cold frames, or row covers can provide added protection.
The success of seed propagation depends largely on seed quality. Viability refers to a seed's ability to sprout and develop into a healthy plant. To ensure high germination rates, seeds should be fresh, disease-free, and properly stored. To determine whether seeds are still viable, the following simple tests can be used:
Different soil types affect seed germination and plant growth.
Healthy soil must have the right balance of nutrients. Compost enriches the soil with organic matter, while fertilizers provide essential elements like nitrogen, phosphorus, and potassium. Adjusting the pH level ensures optimal nutrient absorption as most seeds grow best in a slightly acidic to neutral pH (6.0–7.0).
Proper drainage prevents excess water from suffocating roots and causing root rot. Using perlite, sand, or compost can improve aeration, helping roots grow stronger. Raised beds or containers with drainage holes also improve soil conditions.
Successful seed propagation requires essential tools such as:
Germination is the first step in plant growth, where a seed transforms into a seedling under the right conditions. This stage is crucial, as improper handling can lead to low germination rates or weak plants. Here are the steps to follow for successful seed germination:
Some seeds have hard outer shells that can slow down germination. To speed up the process, they are either soaked in warm water (pre-soaking) or undergo scarification, a technique that physically breaks or weakens the seed coat.
There are two main methods for germinating seeds:
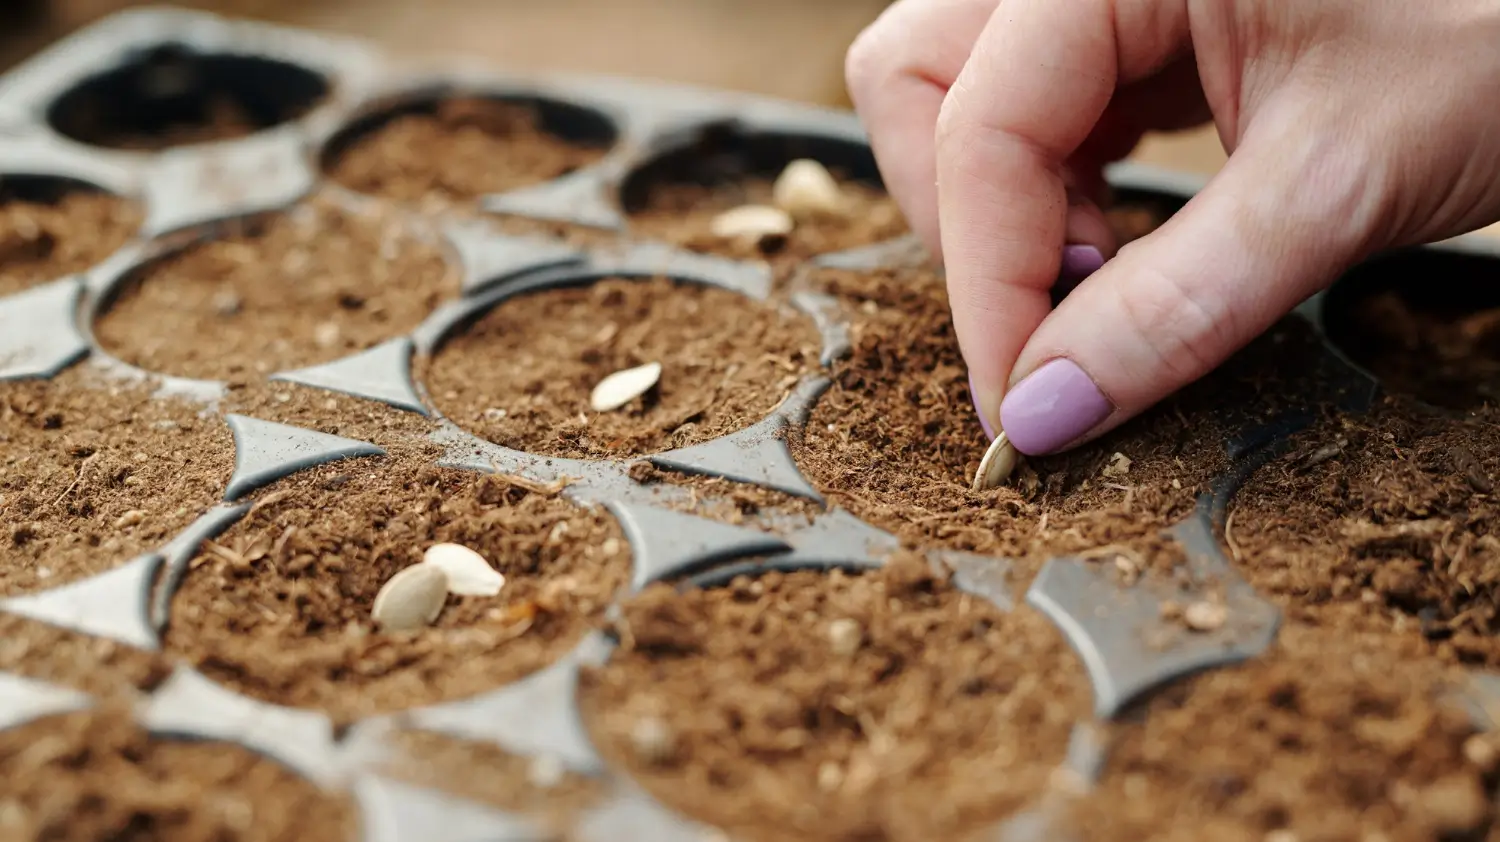
Planting seeds at the correct depth and spacing is important for healthy root development. A general rule is to plant a seed at a depth two to three times its diameter. For example:
Proper spacing prevents overcrowding and ensures good airflow, reducing disease risk.
Providing the right balance of temperature, moisture, and light is essential for successful germination. Each seed type has its own requirements, which are described below:
Different seeds have specific temperature requirements for optimal germination. The ideal temperature range for cool-season crops like lettuce and spinach is between 45-65°F (7 and 18°C), while warm-season crops such as tomatoes and peppers prefer temperatures between 65-85°F (18 and 29°C). Seedling heat mats can help maintain optimal temperatures for indoor germination.
Seeds require consistent moisture to trigger germination but should never be waterlogged. Keeping the soil damp but not soaking is key to preventing mold or fungal growth. Spray bottles or gentle watering techniques are ideal for this purpose.
Covering seed trays with plastic domes helps retain moisture and maintain a higher humidity level around the seeds, creating an ideal environment for sprouting. It is important to check moisture levels regularly to ensure seeds receive the right amount of water without excess.
Some seeds, like lettuce and petunias, need light to germinate and should be surface-sown without covering them with soil. Others, such as beans and squash, require darkness and should be planted deeper to maintain proper conditions for sprouting.
Seeds must be monitored regularly to ensure they receive the correct temperature, moisture, and light. Key tasks include checking the soil moisture levels and adjusting watering as needed, ensuring that the temperature remains stable within the ideal range, and observing the seeds for signs of sprouting.
Adjustments to light exposure may also be necessary, particularly if seedlings are not receiving enough light or are stretching too much toward the light source.
Once seeds have germinated and seedlings start to develop, providing the right care ensures they grow into strong, healthy plants. Here are the essential steps to help seedlings thrive:
Seedlings need plenty of light for healthy development. They may not get enough natural light if grown indoors, especially during the winter months. Grow lights (fluorescent or LED lights) provide the correct light spectrum to promote healthy growth.
Watering is one of the most critical aspects of seedling care. Too much or too little water can damage the fragile roots.
Seedlings have limited nutrient reserves, so gentle feeding is essential once they have developed their first set of true leaves. Both organic and synthetic fertilizers are good for seedlings.
Seedlings are ready for transplanting when they have developed strong roots and at least two sets of true leaves. The soil should be workable, and the outdoor temperature should be above the danger of frost.
Healthy seedlings should have a strong stem, well-developed leaves, and a firm root system. If roots start growing out of the bottom of the container, they are ready to be transplanted.
Hardening Off Process
Gradually acclimate seedlings to outdoor conditions. This process is called hardening off. Start by placing seedlings outdoors for a few hours each day, slowly increasing the time spent outside.
This process takes 7–10 days before transplanting the seedlings into the garden. During the hardening off period, ensure the seedlings are protected from strong winds and intense sunlight.
For gardeners and farmers looking to maximize their crop yields, advanced techniques can help accelerate growth, improve sustainability, and ensure a more abundant harvest. Here are various methods to support a productive gardening or farming operation:
Growth hormones and supplements can stimulate plant growth and improve overall health, but they must be used with care. Stimulants like gibberellic acid or auxins can be applied during key growth stages, such as during seedling development or root formation, to promote faster and stronger growth.
Always follow manufacturer instructions for safe application, as overuse can lead to negative side effects such as deformities or poor fruit production. Consider using natural plant hormones for organic options, such as seaweed extract or fish emulsion.
Hydroponics is a soil-less growing system that provides plants with nutrients directly through water, allowing for controlled and accelerated growth.
In hydroponic systems, plants grow in nutrient-rich water rather than soil. This allows for more precise control over nutrient levels and reduces issues like soil-borne diseases. Common hydroponic systems include deep water culture and aeroponics.
This method involves suspending plant roots in the air and misting them with a nutrient solution, which speeds up growth. It requires specific equipment but is highly efficient for certain crops, such as lettuce and herbs.
Advances in seed propagation are revolutionizing crop cultivation. Technologies like seed priming (pre-soaking seeds with nutrients before planting) and genetic engineering are improving germination rates and disease resistance.
What is the most common method of seed propagation?
The most common method of seed propagation is direct sowing, where seeds are planted directly into the soil or containers. Indoor seed starting is also widely used, especially for plants that need a head start before the growing season.
What is the purpose of seed propagation?
Seed propagation is used to grow new plants from seeds, ensuring genetic diversity and large-scale reproduction.
What is scarification?
Scarification is the process of gently scratching or breaking the seed coat to allow moisture to penetrate and trigger germination. It is typically used for seeds with tough outer shells, like morning glories or tree seeds.
Seed propagation is an important and valuable skill for gardeners, farmers, and plant lovers. It involves choosing good seeds, ensuring proper germination, and caring for seedlings. Each step is crucial for creating a healthy garden or productive farm. With the right knowledge and gardening tools, like those provided by Growcycle, growers can successfully propagate seeds and watch them grow into healthy, vibrant plants.
Disclaimer: This material is for informational purposes only and should not be relied on for legal, medical, financial, or any other form of professional advice.